One of the frequently asked questions among individuals new to using a juicer is, “Is it necessary to clean my juicer after every use?” In short, the answer is yes. Cleaning your juicer after each use is essential for several reasons, and Cook Eat Delicious will delve into these reasons in this article.
Why Clean my Juicer?
Maintaining Optimal Health and Hygiene Standards
The fundamental and compelling reason to meticulously clean your juicer after each use revolves around ensuring optimal health and hygiene. As you engage in the juicing process with various fruits and vegetables, tiny particles inevitably find their way into the different nooks and crannies of your juicer.
When these residual particles are not promptly cleaned, they create a breeding ground for bacteria and the potential for decomposition. This not only jeopardizes the cleanliness of your juicer but also poses a significant risk of contaminating subsequent batches of juice. The growth of bacteria in the neglected remnants can lead to foodborne illnesses, compromising the safety of the beverages you prepare.

Preserving the Quality of Your Juice
Beyond health considerations, the immediate cleaning of your juicer is crucial for preserving the quality of the juice you produce. Any remaining pulp or juice left unattended in the machine has the propensity to dry and solidify over time. This not only makes the cleaning process more laborious but also increases the likelihood of residue buildup.
When remnants from previous juicing sessions mix with new ingredients, the result is a potential alteration in the taste and overall quality of your fresh juice. Residual flavors from past juices can mingle with the flavors of the new ingredients, leading to an undesirable blend that may not align with your intended flavor profile.
Furthermore, dried and hardened remnants within the juicer can impact the efficiency of the machine, potentially affecting its performance over time. Regular, thorough cleaning ensures that your juicer operates at its best, delivering high-quality, uncontaminated juice every time.
In essence, viewing juicer cleaning as an integral part of the juicing ritual is not just about tidying up the equipment; it’s a proactive measure to safeguard your health, enhance the longevity and efficiency of your juicer, and guarantee the consistent quality of the refreshing beverages you create.
Do I have to clean my juicer after every use ?
Unless the prospect of sipping on fermented fruits and vegetables from the previous day appeals to you, it’s imperative to clean your juicer after each use.
Regardless of the type of juicer you employ, residual juice and microscopic bits of pulp can swiftly foster bacteria when left at room temperature. This scenario is a surefire recipe for foodborne illness.
Regular and thorough cleaning serves as a preventive measure, mitigating the risk of disease and ensuring that every glass of juice remains free from any unsavory surprises, such as fuzzy brown slime.
We understand that some juicers can be intricate, and the post-juicing cleanup might seem time-consuming, potentially surpassing the time spent on the juicing process itself. The positive news is that many juicer components are dishwasher-safe, streamlining the cleanup process. Toss them into the dishwasher, and retrieve them clean and ready for tomorrow’s juice.
For those hard-to-reach nooks and crannies that may require manual cleaning or parts that aren’t dishwasher-safe, a few pantry staples can prove to be valuable allies. These items can aid in achieving a thorough cleaning, ensuring that your juicer is consistently maintained and ready for the next juicing adventure.

6 simple steps for cleaning a juicer
Step 1: Unplug and Disassemble
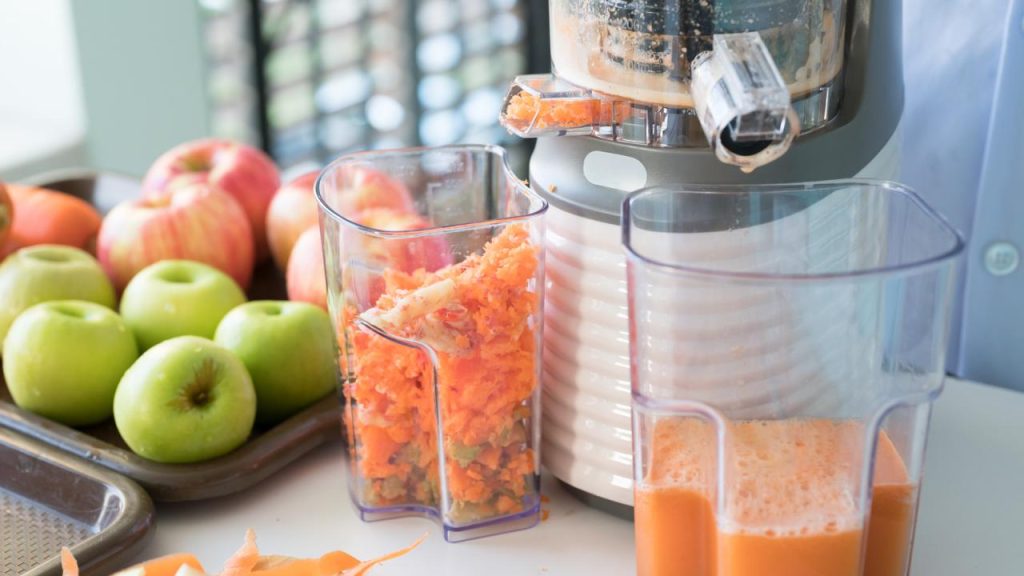
First and foremost, prioritize safety by turning off and unplugging the juicer before cleaning. Disassemble the juicer by removing the strainer, grinder, lid, and plunger from the juice and pulp containers. Use a spatula or clean rag to scrape out the pulp container, disposing of food bits in your compost bin.
Step 2: Soak Juicer Parts
Fill a sink with warm water and add a few drops of dish liquid. Soak the disassembled juicer parts in this soapy water, allowing them to saturate. For those opting to clean components in the dishwasher, a thorough rinse is recommended before loading.
Step 3: Gently Wash
After soaking for approximately 10 minutes, use a soft-bristled scrub brush to gently scrub each juicer part. Reach into tight crevices and inside complex components using a toothbrush or bottle brush.
Step 4: Remove Stains
For stubborn stains, enlist the help of baking soda for enhanced scrubbing power. Scrub the discolored areas with a dampened cotton cloth dipped in vinegar. If stains persist, apply baking soda, let it sit for 30 minutes, then scrub with a vinegar-soaked cloth before rinsing.
Step 5: Scrub the Juicer’s Base
Wipe down the juicer’s base with a microfiber towel soaked in water or a diluted cleaning vinegar solution. Pat it dry with a clean towel. Avoid immersing the machine’s base in water to protect its electric components.
Step 6: Reassemble
Once all components are clean and dry, reassemble the juicer. Put the juice and pulp containers back together, followed by the strainer, grinder, lid, and plunger.
In conclusion, regular and thorough cleaning of your juicer after every use is crucial for maintaining hygiene, safety, and the quality of your juice. While it may seem like a minor inconvenience, incorporating this cleaning routine into your juicing regimen ensures the longevity of your appliance and guarantees fresh, delicious juice for years to come. Remember that quick cleaning immediately after juicing can make the overall maintenance process much easier.